
Setup
- An
Administratormust enable theRisk AssessmentModule in the Administration section of the system.

- An
Administratorshould then assign the role ofRisk Assessment Managerto one or more users of the system.

- An
AdministratororRisk Assessment Managershould assign the role ofRisk Assessment Approverto at least one other member of staff. Doing so means that they can approveRisk Assessments.

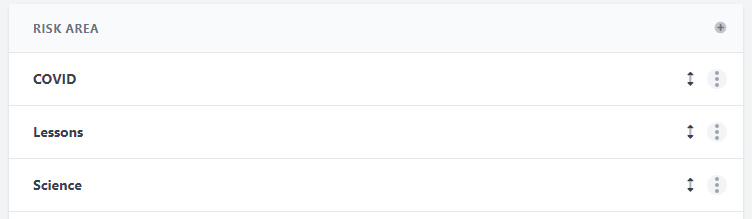
Risk Assessment Managerscan create newRisk Areas. These can be helpful for groupingRisk Assessmentsinto themes e.g. “Science” or “Trips”.
Manage areas and approvers
The Administration page provides links to manageRisk Areas and Risk Assessment Approvers.
Areas
Areas organise risk assessments into logical groups. The defaultGeneral area cannot be removed while it is the only
area available. An area cannot be deleted while risk assessments are assigned to it. Use the row menu to edit or delete
an area, and the reorder control to change the order in which areas appear.
Approvers
Add staff who can approve risk assessments. An approver explicitly assigned this role can later be removed. Users who already have approval permission through another role, such asAdministrator or Risk Assessment Manager, cannot
have that inherited permission removed here.